
One of the most popular social media sites for promoting a product is Facebook. The reason for this is due to a large number of active users. As a result, using Facebook as a marketing platform is a good choice. In this article, we will describe How to advertise on Facebook.
Having an understanding of how to use Facebook Ads is becoming a required component of every social media marketing strategy. Moreover, if you want your Facebook postings to be seen by as many people as possible, it’s getting extremely likely that you’ll have to pay for reach through Facebook Ads.
Expanding your fan base quickly is possible by using Facebook paid advertising. You don’t need any specific skills or knowledge to advertise on Facebook. Facebook will teach you everything you need. Simple self-service tools let you create and execute ads yourself, and easy-to-read reports let you see how well they’re doing. Facebook is used by over two billion people each month. So, no matter who you’re trying to target, you’ll find them on Facebook.
Why Facebook Ads?
Whatever your target market is, there’s a high probability that many of them spend a considerable portion of their day on Facebook. And if you promote effectively on Facebook, you can increase your brand awareness, attract new clients, and convert interested customers at the bottom of the funnel.
Benefits of Facebook Marketing
- Targeting with pinpoint accuracy
- Increased website traffic
- Multiple types of advertisements
- Providing customer support
- Positive effects on search engine optimization
To get the maximum result, you must be familiar with the platform’s ad format kinds and targeting possibilities.
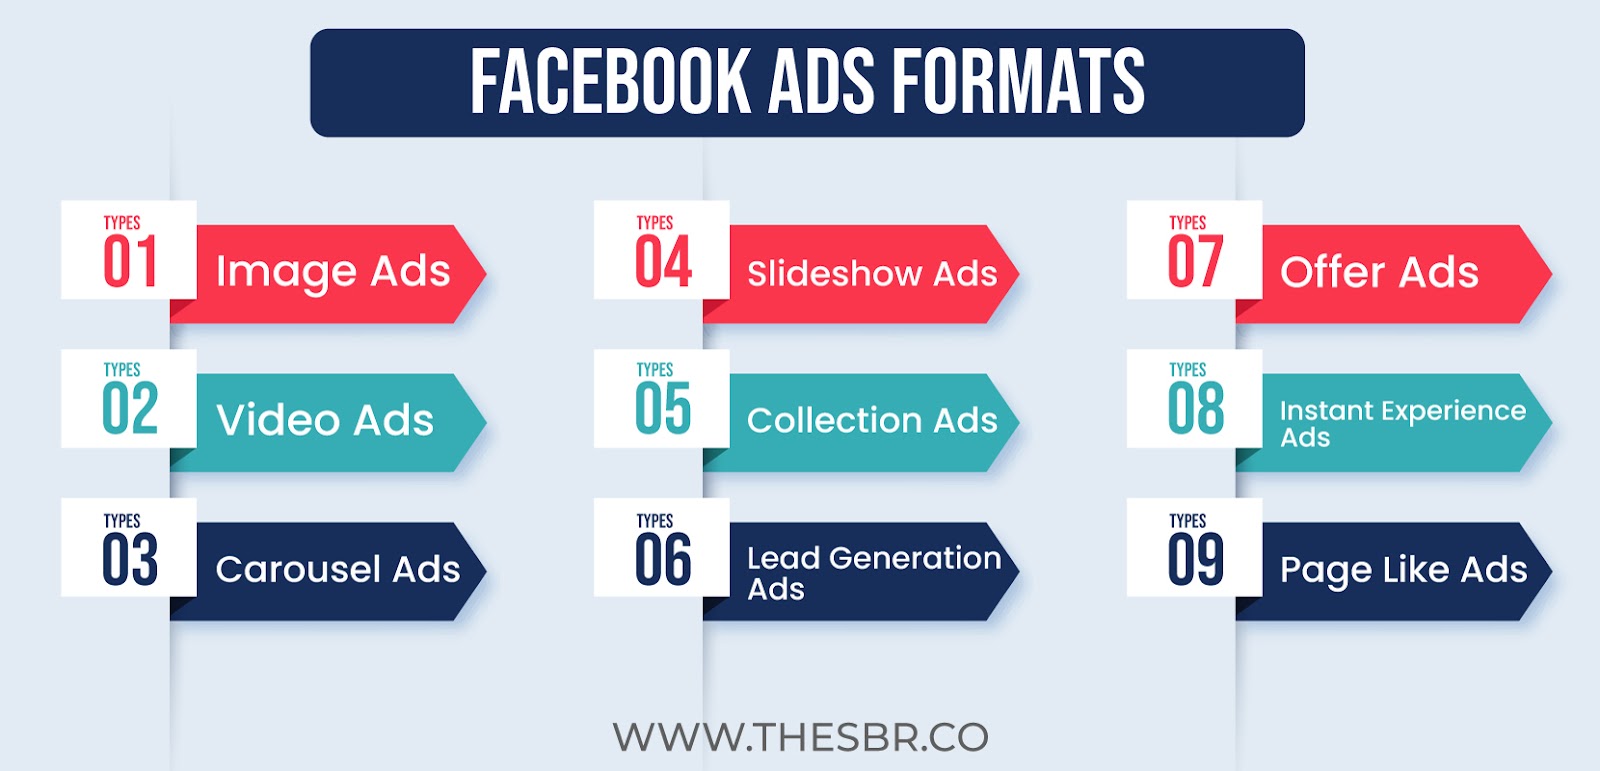
Facebook Ads Formats
Facebook advertisements are an essential component of any advertising. There are numerous types of Facebook advertising from which to pick in order to fulfill your business goals and enhance your ROI.
To learn more about Facebook Ad types, click here.
Once you know the types that are available for Facebook Ads, you can easily find the perfect one for your business.
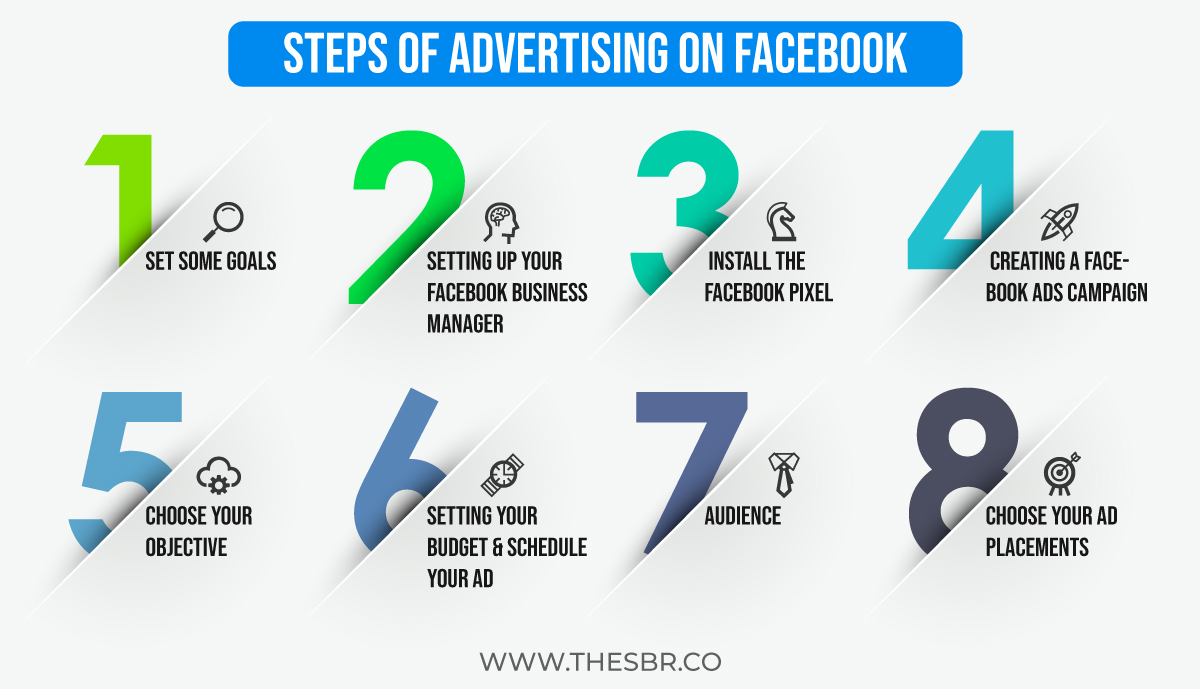
Steps of Advertising on Facebook
You have to go through these steps to set up a Facebook ad campaign.
Step: 1 Set Some Goals
Before you start creating ads, think about why you’re promoting and what you want to accomplish. You’ll have something to judge your accomplishment against if you set a few goals before going live with ads.
For example, if you want to promote interactions on your business page with Facebook Ads, you would set a target of 1000 likes, 300 comments, and 100 shares in the first month. This will also assist you in determining who to target with your Facebook Ads.
Goals that could be used as examples include:
- Increase Facebook traffic to your website
- Get more audience to join your event
- New leads generation
- Nurturing and qualifying your leads
- Increase the numbers who see your Facebook content.
- Increasing conversions and sales
Step: 2 Setting up the Facebook Manager for Business
Due to incorrect account setup or being perplexed by the wide range of ad options available on Facebook, many people never get around to starting a campaign.
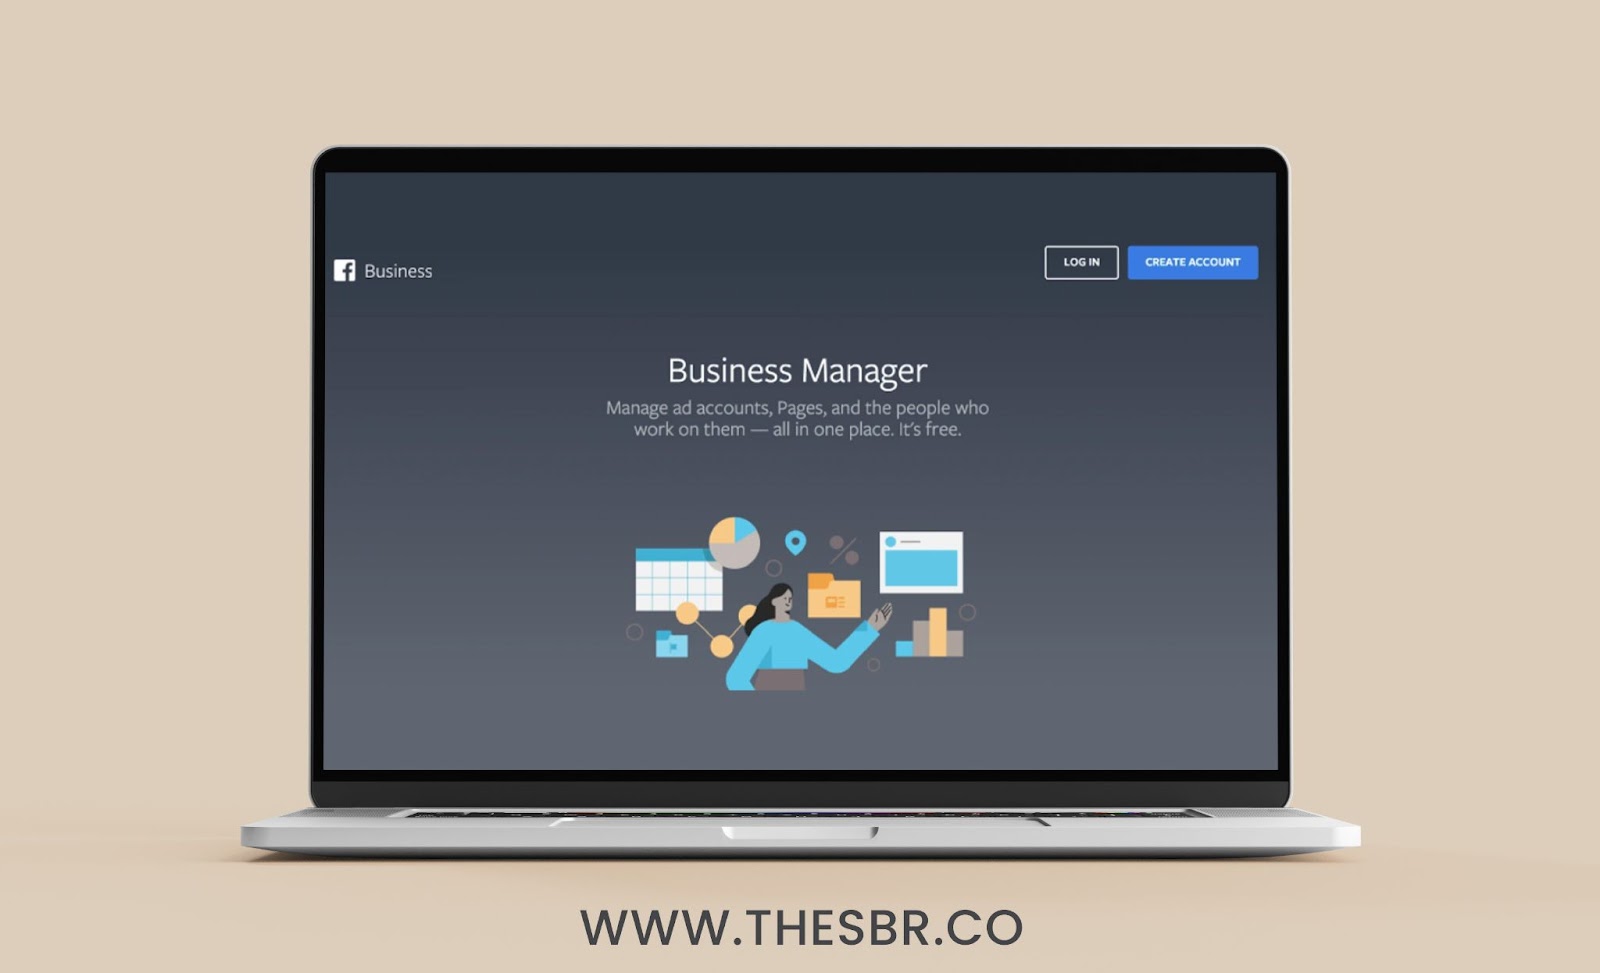
You must first confirm that your Business Manager account is properly configured. Business Manager is where you’ll find the Facebook ad account, business pages, and any other tools you’ll need to put your advertising plan into action.
Create a Facebook Business Manager profile by going to business.facebook.com and clicking Create Account on the drop-down menu.
If you do not have a business page on Facebook, create one now. Otherwise, you’ll be requested to fill in your business name, email address, and Facebook business page URL.
Your advertising account will be created or added at this point. Select Business Settings from the Business Manager option, then select More Tools and select Ad Account Settings from the drop-down menu.
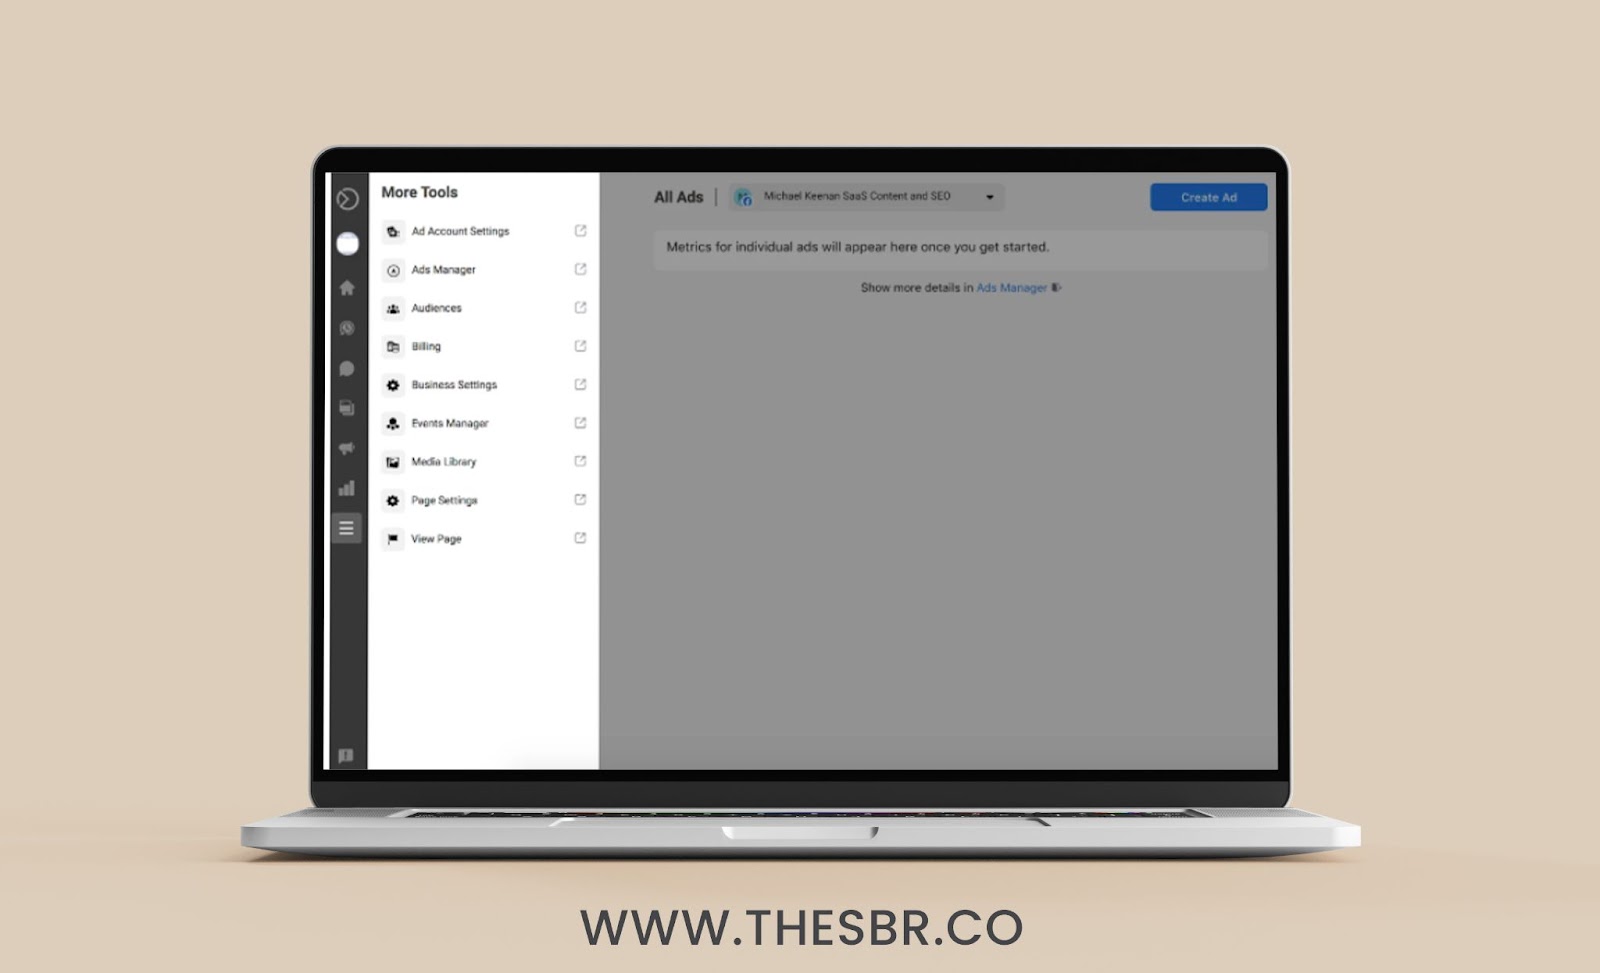
A new window will open with the option to either add an existing ad account or establish a brand new ad account. First-time advertisers should click Create an Entirely new Ad Account and thereafter proceed as directed.
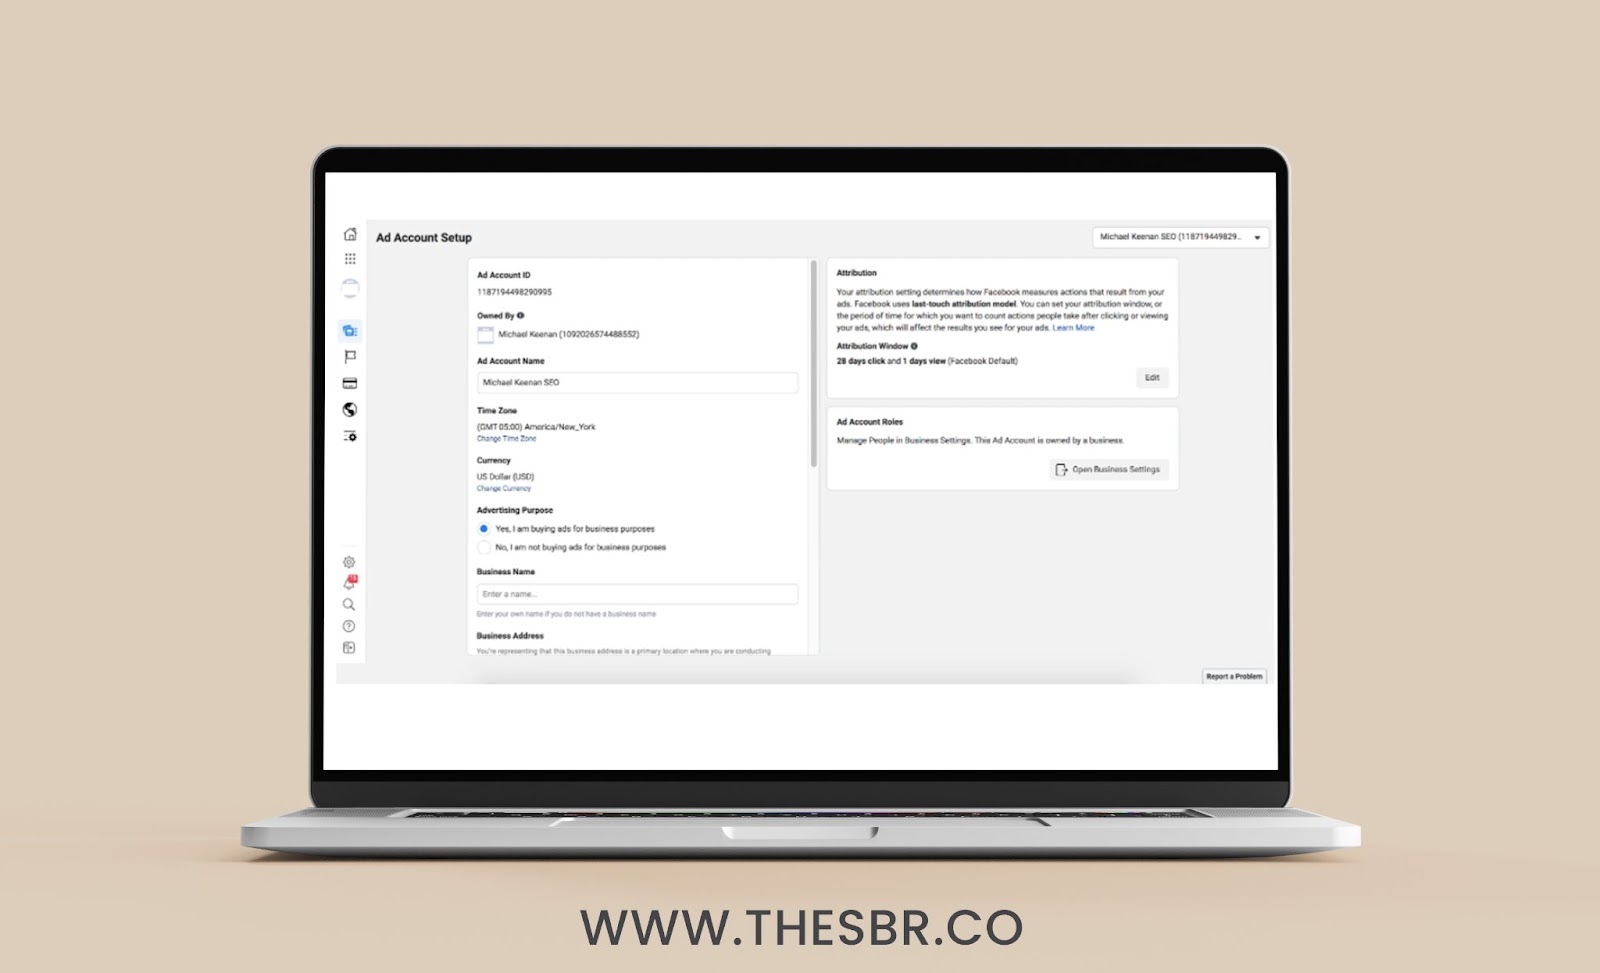
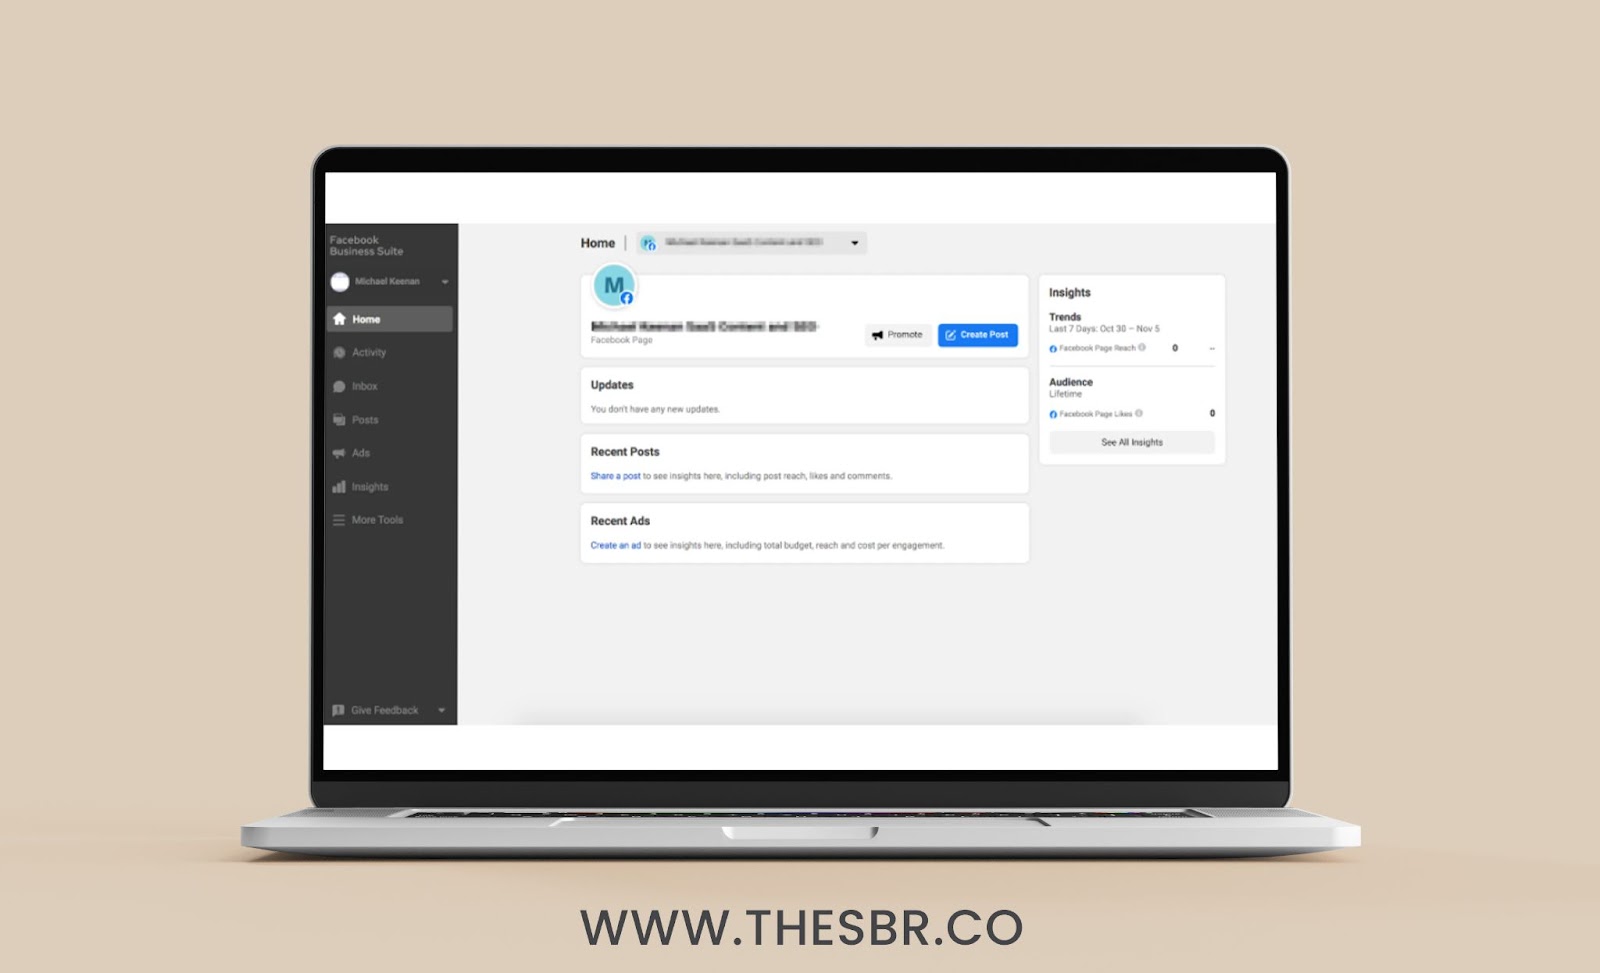
Your Business Manager set-up has been done. So you will see a home screen like this.
Step: 3 Install the Facebook pixel
In Ads Manager, you can boost a post or establish an advertising campaign, but without the Facebook pixel, you can’t be sure if an ad has resulted in any purchases on your website.
Facebook pixel connects your Facebook advertisements to your website. You must first form a tracking pixel within your Business Manager profile and then upload that to your website before you can pay for any advertising to appear on your site. It lets you see everything your website visitors do once they click on one of your Facebook advertisements and end up on your page. This pixel reveals to you where your conversions originated from, not only if your ads were successful, but also from where those conversions came from in terms of target groups and creative pieces.
Step: 4 Developing a Facebook Ad Campaign
Campaigns, as defined by advertisers, encompass all of the advertisements you see in your Facebook feed, as well as the photographs, videos, and carousels labeled “Sponsored”.
To begin generating your ads, you must first create a campaign in which they will be included.
An advertising set is a collection of advertisements that are all part of the same campaign. Selecting your target audience and the ad that users will view are all done here. There is no limit to the number of ad sets you can have in a single campaign, so you may experiment with different target groups and individual ads to see which one performs the best.
Using Business Manager’s Ad Manager, navigate to the Create button to begin generating your first campaign. Choose an objective as the next stage.
Step: 5 Choose Your Objective
Facebook Ads has three major objectives to select. They are:
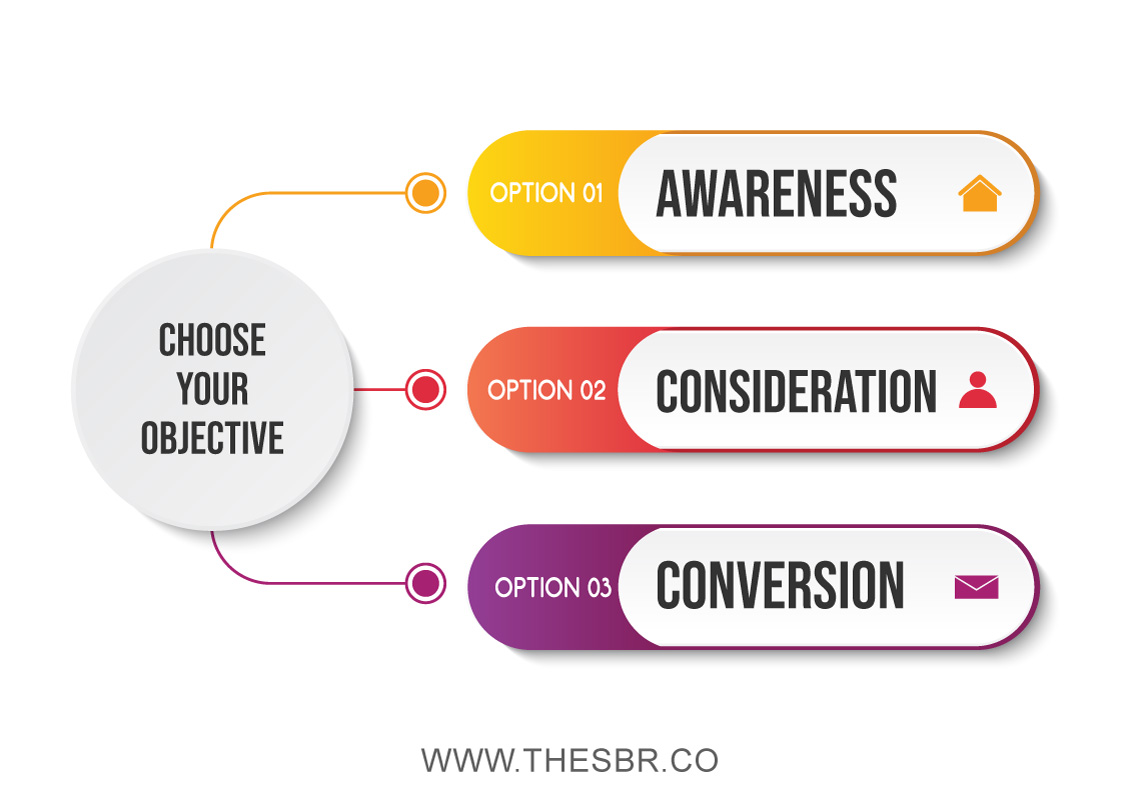
You will find some subcategories under these three major objectives. You must pick which goal is most important to you.
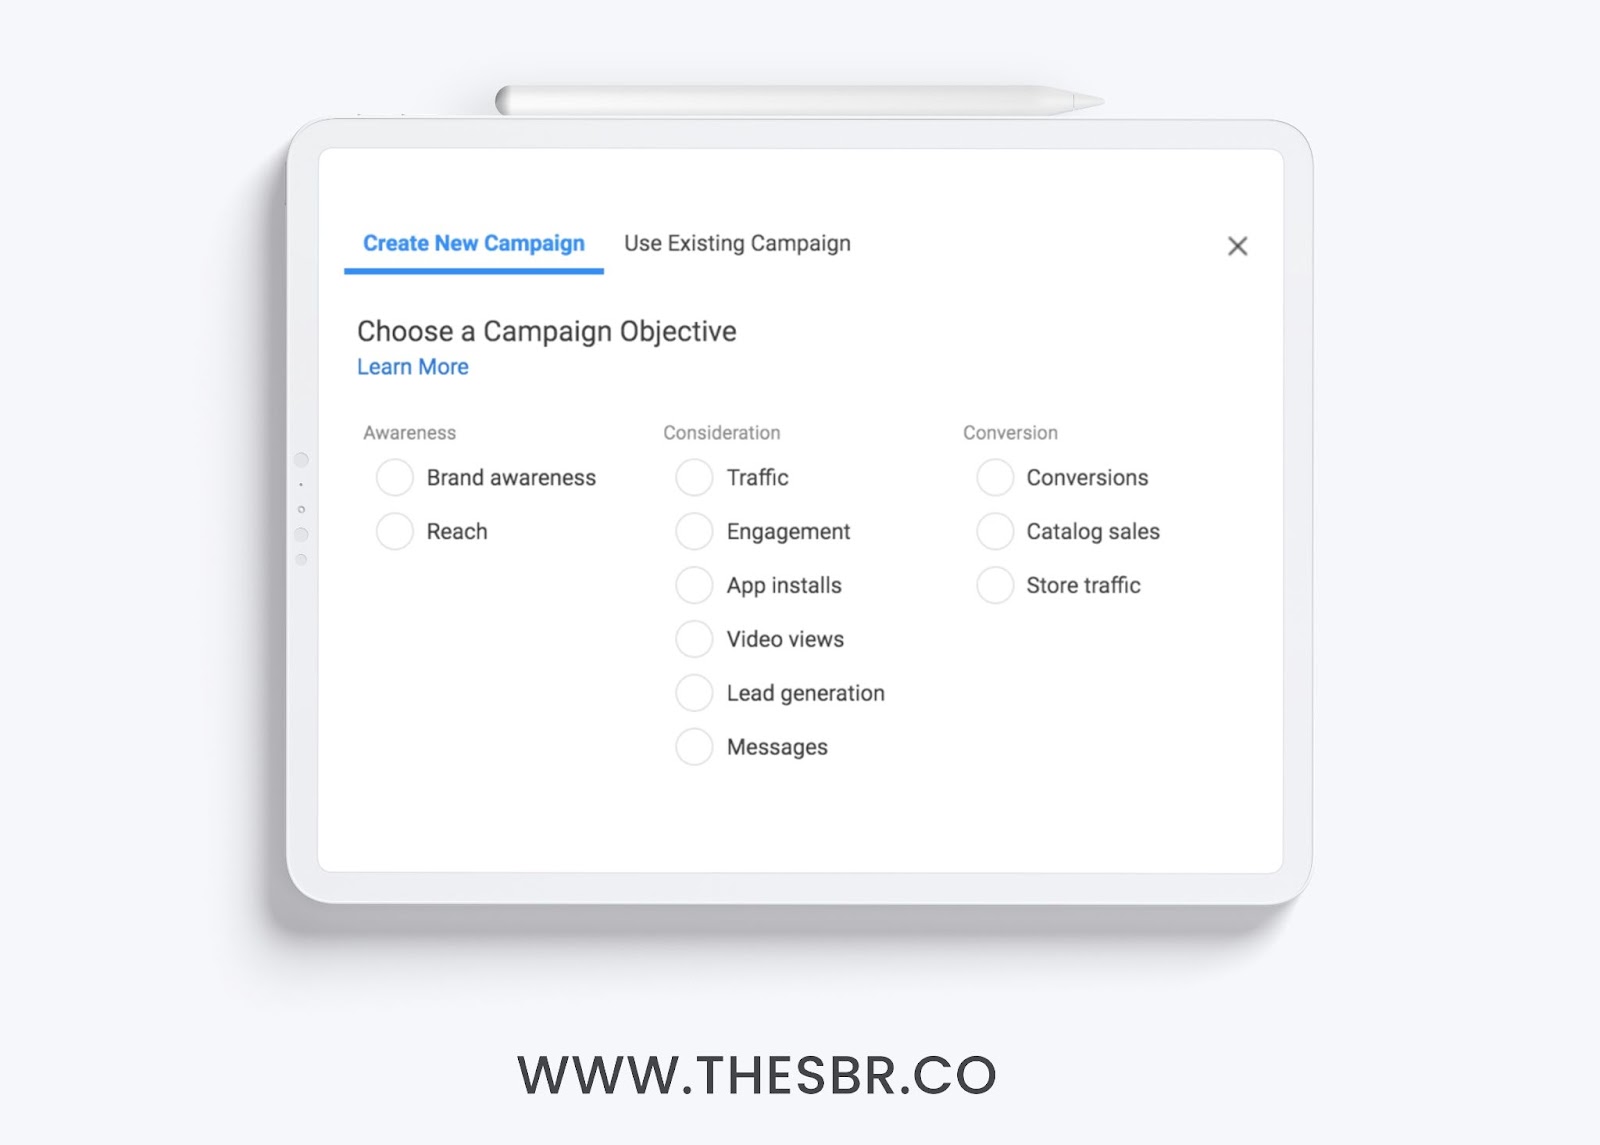
- Brand awareness: Make a new customer base aware of your brand.
- Reach: Promote your ad to as many individuals as possible inside your target demographic.
- Traffic: Visitors will be sent to a certain website, smartphone app, or Facebook Messenger conversation.
- Engagement: Encouraging more people to engage with your posts and/or like your Page will enhance attendance at events, or it will encourage people to take advantage of an exclusive deal you’re making available.
- App installs: Promote your app to customers so they’ll download, install and use it.
- Video views: Expand the audience for your videos.
- Lead generation: Increase the number of people who enter your sales funnel.
- Messages: Encourage customers to use Facebook Messenger to communicate with your brand.
- Conversions: Encourage visitors to perform a certain action on your website (such as joining your mailing list or purchasing your product), through your app, or through Facebook Messenger.
- Catalog sales: Show individuals adverts for things they are most likely to buy by linking your Facebook ads to your product catalog.
- Catalog sales: Encourage local customers to visit physical stores.
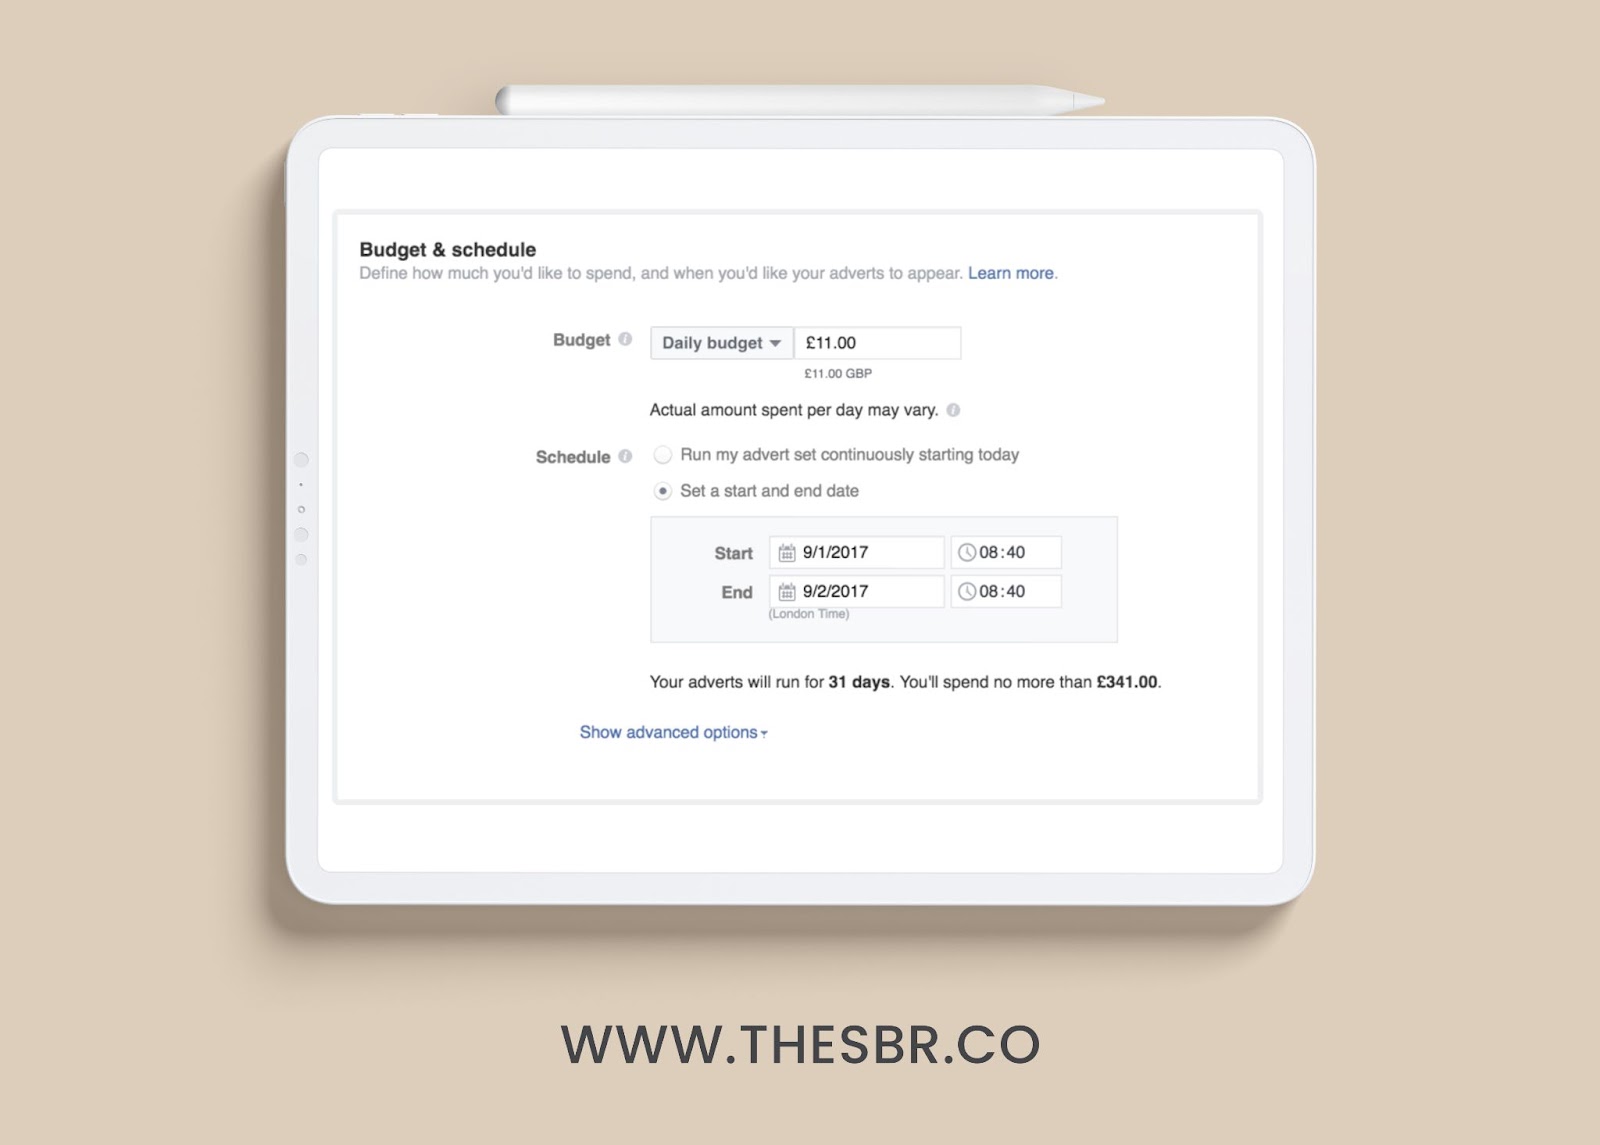
Step: 6 Setting Your Budget & Schedule Your Ad
Your budget is the next step in ad settings, and you can make that decision for yourself here. Decide on a budget for your Facebook marketing campaign and stick to it. You will find two options for budgeting.
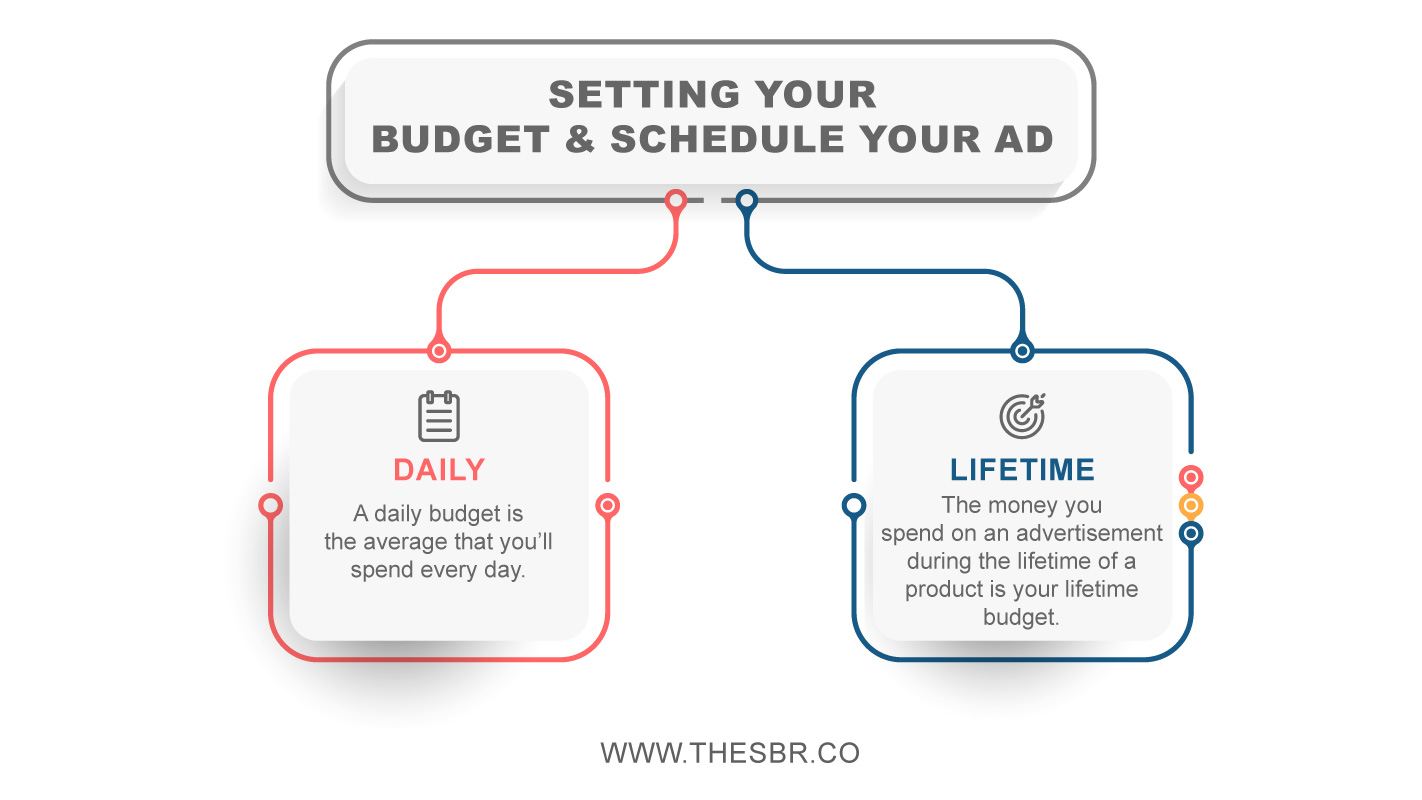
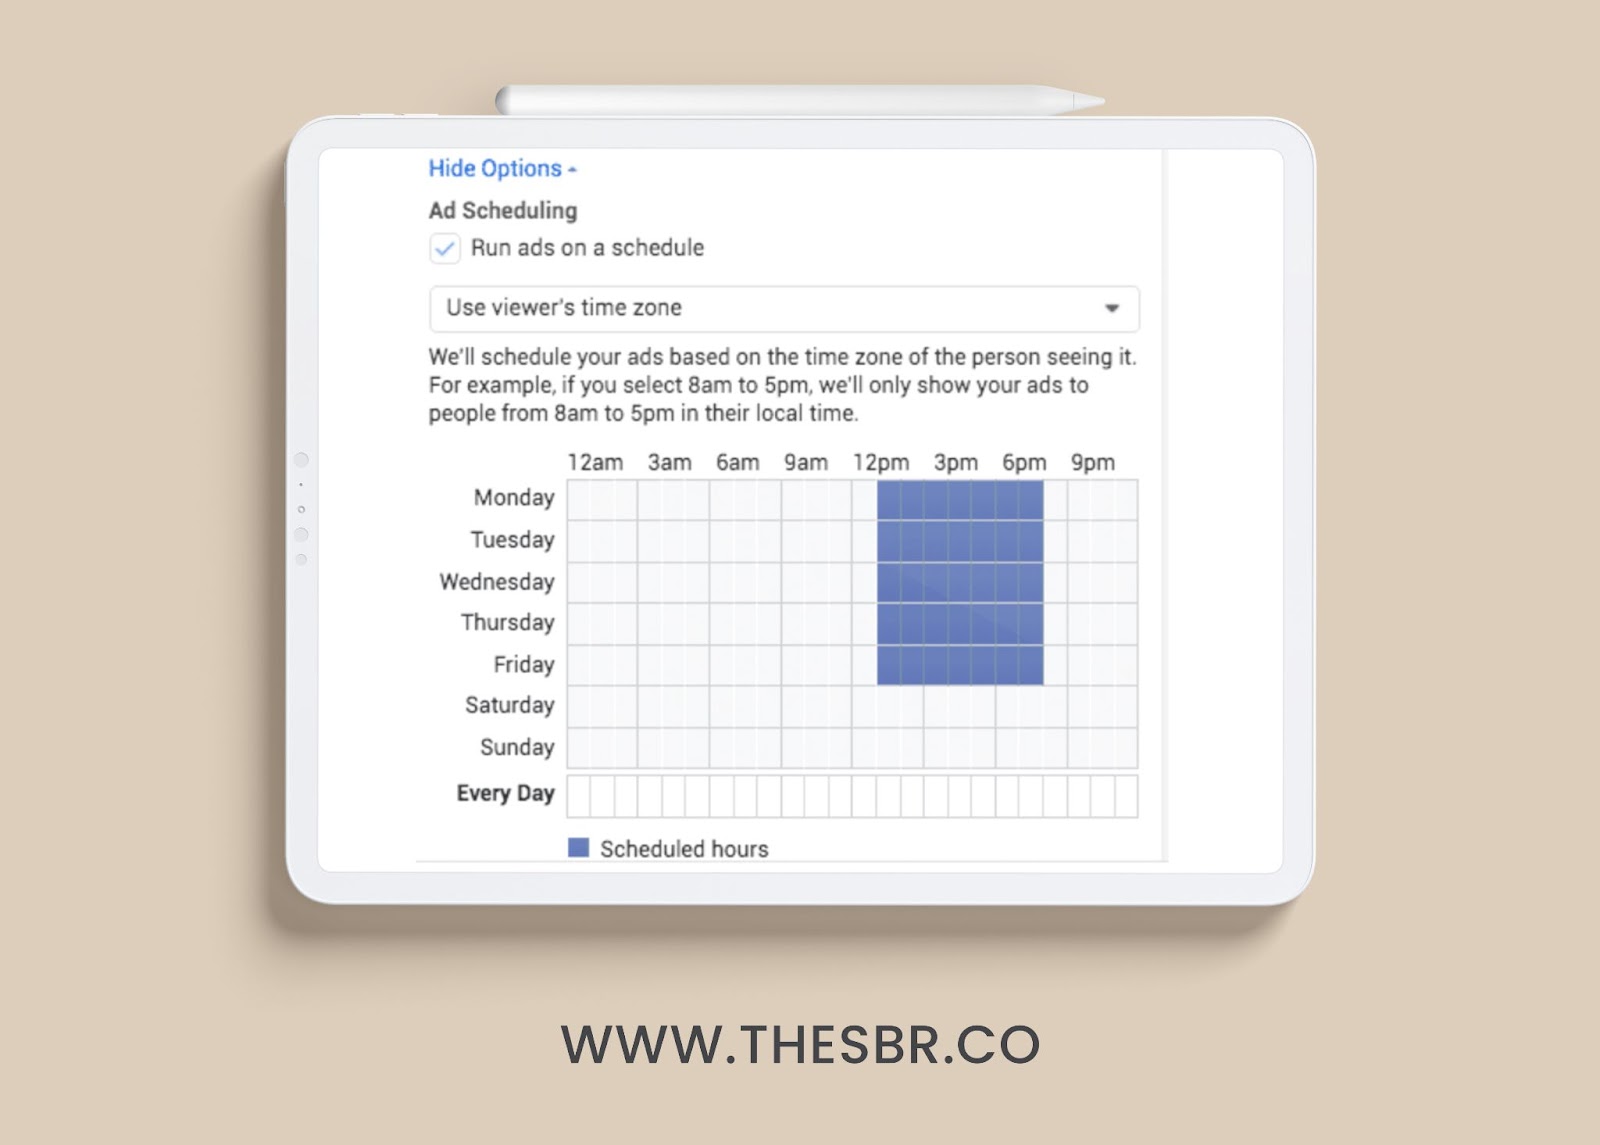
The advanced option is for the advance ad schedule. It’s important to remember that scheduling your Facebook paid advertisements allows you to only display them to your target audience when they’re most likely to be on Facebook. A lifetime budget may only be created with this feature.
Step: 7 Audience
This stage is very important for your Facebook Ads campaigns to be successful. A prospecting list that you built in the Audience area will be available to you when creating ad settings.
Select your target audience according to:

It’s important to keep in mind that you have the option to include or omit cities of a specified size under location.
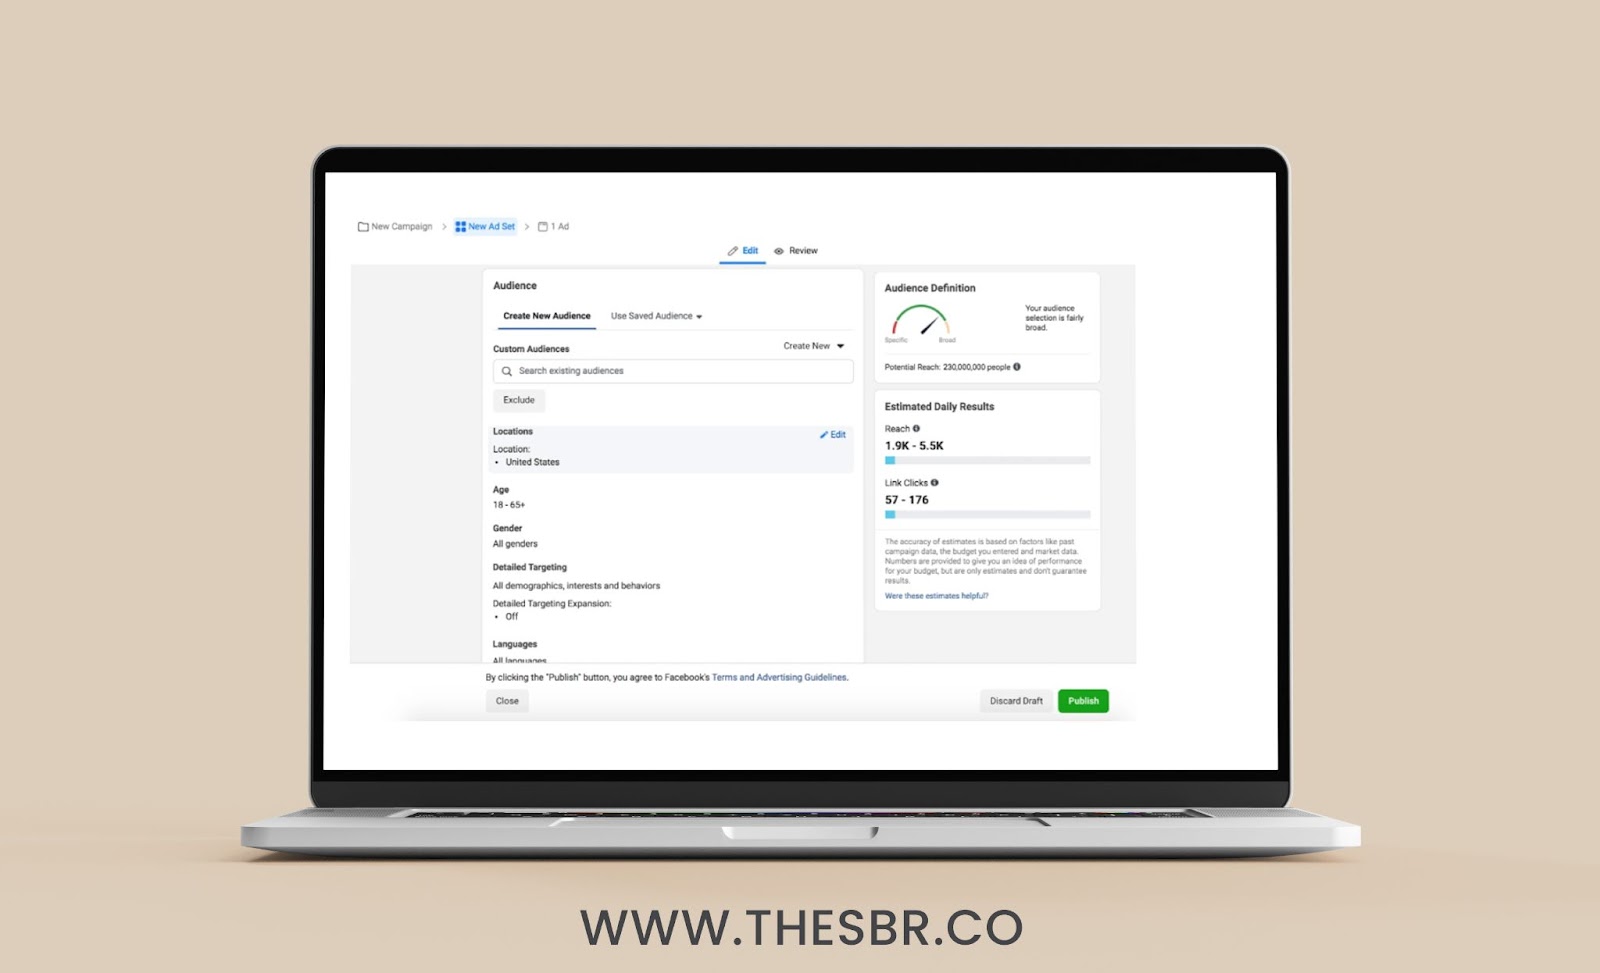
When you’ve finished choosing your audience, keep an eye on the right side of the screen to see the audience size indicator, which shows you how far your ad might go.
Specify the detailed targeting by choosing behaviors, interests, or demographics. By employing these categories, you can make a new community overlay on top of your existing audiences, or you can stick with the Personalized or Lookalike Community you selected above.
If you have a significant number of people who fit into one of these categories, you may be able to reach a huge number of people with your ad by using connections targeting.

Step: 8 Choose Your Ad Placements
Finally, you need to choose the placements of your ads to determine where your ad will be shown.
Your ads will be automatically placed throughout Facebook, Instagram, Messenger, as well as the audience network if you choose Automatic Placement.
Though Facebook recommends selecting automated placements, you can also place your ads manually by providing information like:
Device type: Desktop, mobile, even both.
Platform: Instagram, Facebook, Messenger, and/or Audience Network.
Placements: Search, Feeds, Messages, Stories, in-article, in-stream (for videos), and apps as well as sites.
Specific mobile devices as well as operating systems: Android, iOS, feature phones, even all devices.

The moment has come for you to build your own Facebook ad to promote your business and generate traffic and leads from the people who are most likely to become customers. So follow the above steps and make yours.


